
So Otome no Sewing is a thing. A great thing, in my opinion. At the time of writing there are 7 books out, each with a number of awesome patterns ranging from accessories to coats to dresses and skirts. The books are in Japanese, but they have very detailed pictures illustrating how to create the pieces. I personally own four of these books despite not fitting the measurements for the patterns.
 |
| A thing. |
You can purchase Otome no Sewing books on Amazon for anywhere between $10-$30 depending on which one you're trying to get. They're great for inspiration and should not be overlooked by the plus sized Lolita for a very simple reason: you can make the patterns bigger.
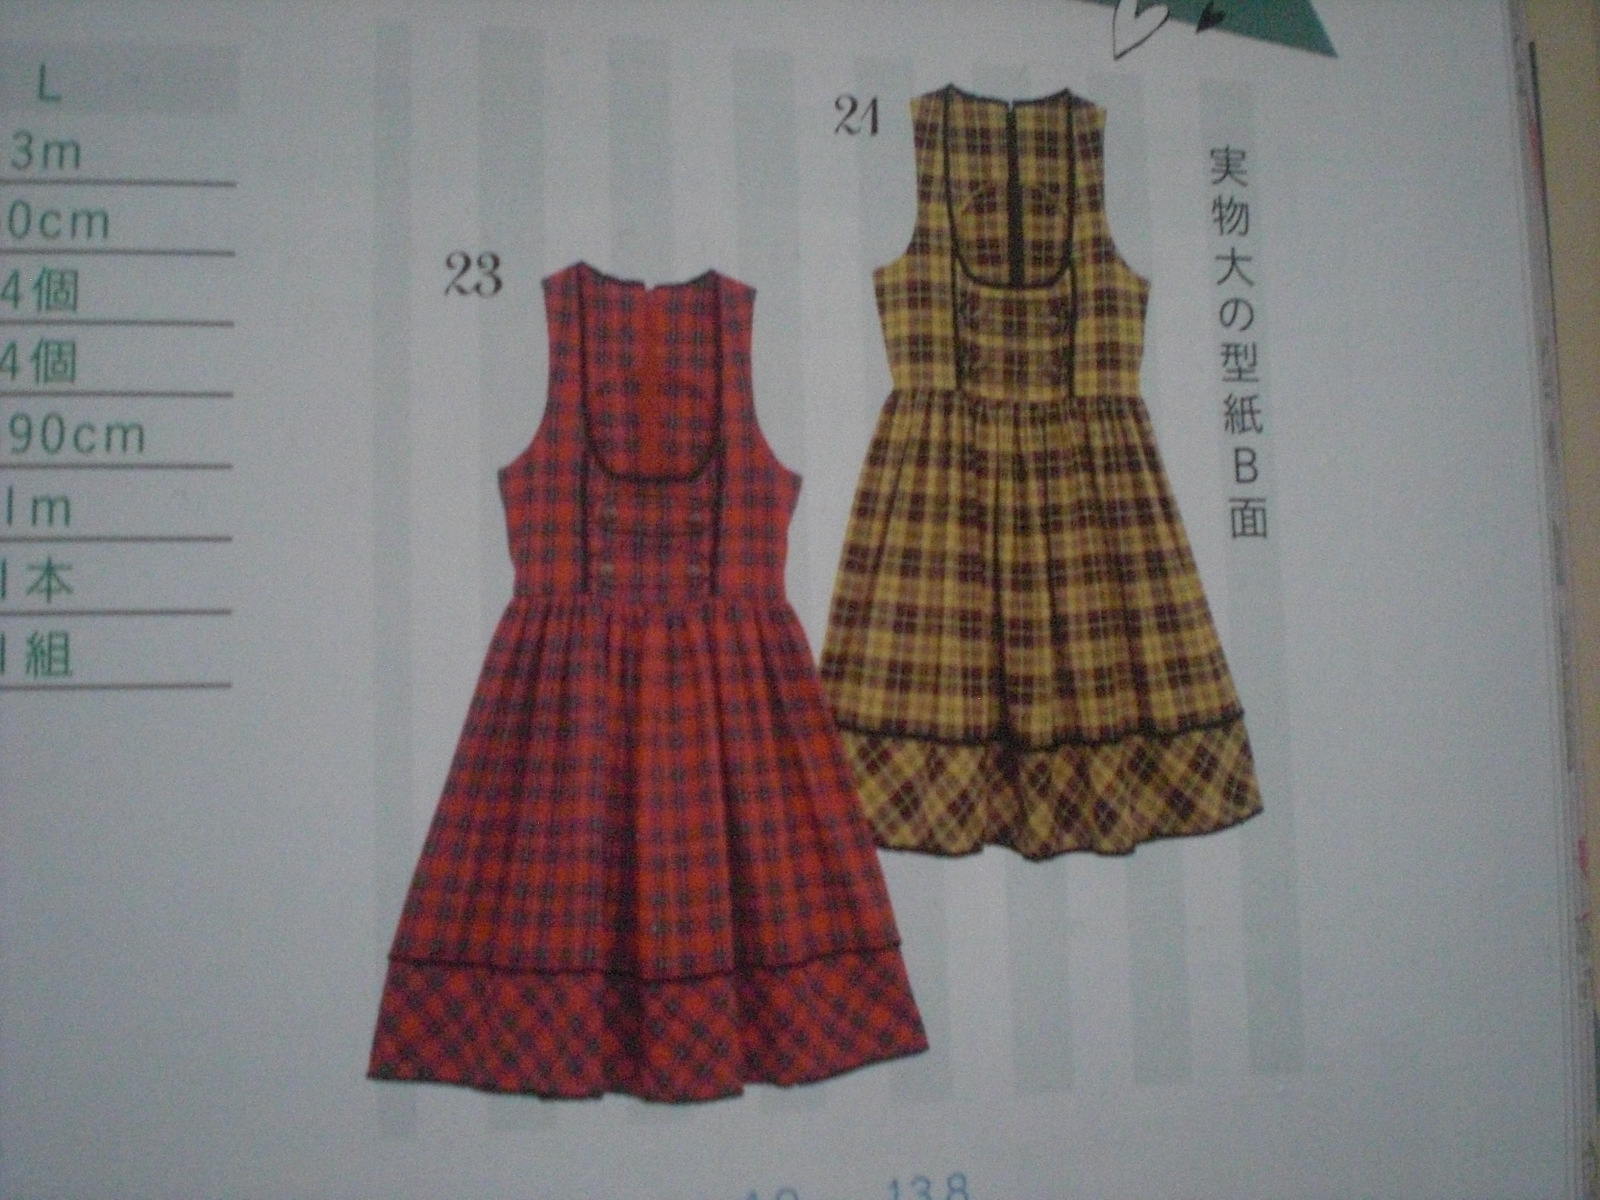
As an example, I used the pattern for this dress:

to make this:


It only took about a day to make, too! So how did I do this? And how can you? Well, you could grade it up, which involves lots of cutting, or you could try drafting your own pattern using percentages. For this tutorial, I'm going to be making this pattern the proper size for me, but you can take the equation and apply it to any of the patterns:

You actually don't even need to remove the patterns from the book. The Otome no Sewing books come with a helpful little sizing guide, and each pattern has little drawings of the pattern pieces with their measurements next to them. So we're going to use these two things to help us draft our own pattern.
Note: this method will also work with sizing down.
ANOTHER NOTE: The short version of this tutorial is: draft your own pattern by turning the original pieces into percentages and plug in your own measurements to get the right size. ONLY do this for the horizontal measurements (i.e. bust, waist, hip, etc.), unless you want your garment to sit higher or lower on your body. This can be done for any pattern in the Otome no Sewing books.
 |
| The size chart.
Here is the pattern piece diagram. See all those little numbers? Those are what we're going to be using. It looks a little complicated, but don't panic. We're going to start with the front bodice. Specifically the middle piece (the little one on the left).
  Before we truly begin, let's talk about ease. Garment ease allows you to breathe and move properly, and it's very important. But because we're going to be increasing this patterns with percentages, that ease is going to increase too. We don't want that. So what we're going to do is:
This first piece will be cut on the fold, so we're going to take our dressmaker's paper and start plotting from the edge. The first thing we look at is how tall the piece is. We're going to be using the largest measurement here, which is 16.5cm.
A Note About Length: Because your boobs are likely to be bigger than the ones the pattern is made for, you'll have to add a bit of length to make sure it reaches your natural waist. I usually add 1/4 to 1 inch, depending on where exactly I want it to sit. To find out how long it should be, measure from where a shoulder seam usually sits on your body, over your boob, and down to your natural waist. Add this measurement to the length measurements as you go. In this tutorial, I'm skipping this step for simplicity.
Now we're going to look at how wide this is--starting from the top. The largest measurement is 8.4cm, and this is at the bust line. So we need to figure out what the percentage of the bust this is. So we take 8.4, subtract 1.4, and divide it by 88 (the bust measurement), which gives us .079.
Now what we need to do is take our own bust measurement (mine is 102cm) and multiply it by .0079 (which gives me 8.1). Add your new ease (Z).
So the equation here is: (pattern measurement - original ease) / original measurement = Y. (Your measurement * Y) + new ease = new pattern measurement.
When trying to figure out where to place a dart or how much to take away from a piece, disregard the ease portions of the equations. This will be mentioned a few times in this tutorial.
Measure perpendicular to the center and make a mark.

Now we do the same thing for the bottom piece, but replace the bust measurement with the waist measurement. So (8-1.2) / 70 = .097. .097 * 83 = 8.1. But remember, we need to add our new ease! Add Zcm. So I will make a mark 8.1 +Zcm (or 8.8 for myself, if you're curious) from the edge. Connect your two points.

Now bring down the top edge point 1cm. On the bust line (use your equation, but disregard the ease (1.5/88*your bust=X)), mark Xcm away from the corner. Draw a mostly straight line from the center front point and gently curve it to the other point. There will be a gap between the points along the bust line.

Congratulations! Your first pattern piece is almost complete. Label it and move on to the next one.
Now we'll be drafting the side piece (not the little one).
Since the bust line altogether is 25.5, we want to subtract 8.4 (the width of our first piece), which leaves us with 16.1. Subtract 1.4. Now we divide this by the book's bust measurement (88), which gives us .167. Multiply this by your own bust measurement. This gives me 17. Add your new ease. Draw a line perpendicular to the center edge, from the front pattern piece. 
From the bust line, measure down (perpendicular!) 16.5cm and make a mark. Now we need to know how far to pull the waist in (don't bother with the subtraction or adding Z here; ease isn't an issue), so take 2 / 70 = .028. Then multiply it by your waist measurement. So, for me, it's .028 * 83 = 2.37. So I will plot a point 2.4cm in from the front pattern piece.
Referring back to the image in the book, we can find that the waistline of the side pattern piece is 12.5cm. Subtract 1.2 to get 11.3. Put this into your equation. 11.3/70* your waist=X. (mine is 13.4.) Add Z and plot a point.

Now connect your points to make a shape that looks like this:

Now we're doing to work on drafting the straps. So move back to the center front and measure 24cm above the bust line. Make a mark. Find your measurement using your bust measurement and 14.4. Subtract 1.4. So 13/88*your bust=X. Add Z for your new ease. From the last mark you drew, measure in that number (15.7 or me) and make another mark. Connect this to the hanging line on the front center piece.

This next part requires a bit of eyeballing, so use your best judgement. A bit further than halfway down the line you just made, make a mark.
Use your equation, once again disregarding the ease portions. Referring to our book shows us that the strap is 1.5cm away from the line at the deepest point, so 1.5/88*your bust measurement=X. From the last mark you made, plot a point Xcm away from the center front (mine is 1.7). Connect this mark to the highest point, then ad a curved line to connect the lower point to the center front hanging line. 
Draw a straight line perpendicular to the bust line connecting the spot where your two pattern pieces connect to the curving line.

You can use your equation for this next part if you want to, but I didn't bother because it's just the straps. Make a mark 5.2cm from the highest point, away from the center front. From this, measure down 3.1cm. and make a diagonal line to the highest shoulder point.

Connect the low shoulder point to the edge of the side piece. Measure up along this line 6.2cm and make a mark.

Now we need to do some more math! Once again disregarding the ease portions, because that isn't an issue when you're taking bits away from the pattern. 5.7 / 88 = .064. Then we take .064 * your bust measurement to get the amount we need to bring the point in. Mine is 6.6. So plot a new point towards the center front, starting at the last mark you made. Make sure this is perpendicular to the center front edge! This point is the deepest your armhole will go.

Now draw a curving line from your strap to the edge of the side pattern piece.

And your second pattern piece is complete! Hooray! Now we're almost done. Erasing the unnecessary marks and lines should give you something that looks like this (don't worry if your straps seem longer than the one here):

Before we move on to the back piece, we're going to make the front facing. This is a very simple thing to do. Begin by copying the top part of the pattern to a new piece of paper. From the edge of the side seam, measure down 4cm.
 
We'll start with the larger of the two back pieces.
Begin by plotting the distance between the waist and the bust lines. In this case it's 16.5cm.

The waist line for this piece comes in 1cm, which shouldn't be that much different from your own measurements. But use your handy equation to figure it out anyway. So 1/70*your waist measurement (mine is 83)= how far from the edge you need to plot your point (for me it's 1.2).
Now figure out how long the bottom part of the pattern is. The book says 6cm, so.... (6-1.2)/70*your waist measurement + Z = X (for me, 5.7). Plot that point and draw a line.

You should find that this is fairly easy by now. Move up to the bust line and plot the length for that as well. (8.9-1.4)/88*your bust + Z = X. My answer is 9.4. Connect these two lines on both sides.

Now measure up from the bust line 24.5cm and make a mark. Make another mark 2.8cm down from that for your neckline.
From the uppermost mark you're going to draw a line using the same number you got from the previous equation. So for me, it's 9.4 Then connect this line to the lowermost point using a curve. Eyeball this to your best ability. It should be mostly straight for awhile, then curve more drastically upwards.
 From the shoulder point, find how far away you need to plot the next point. (5.7-1.4)/88*your bust measurement + Z = X (5.7cm for me). Then plot a point 2cm down from that.  Now draw a diagonal line from the neckline point to the point you just plotted.  From this diagonal line, draw a straight line 8.2cm down.  Before we draw the curve, we're going to work on the next pattern piece. Start at the waist line and plug 2.5 into your equation. Disregard the subtraction and adding Z here. 2.5/70*your waist measurement (83)=X (2.9). Plot a point and connect to the bust line.  I did a bit of math here and found that the pattern piece bottom portion is 13cm. So, using our equation once again... (13-1.2)/70*your waist measurement + Z = X (14.7 for me). So draw a line X cm away from the last point you plotted.  Now move back up to the bust line. Continue this line, using the number 15.6. (15.6-1.4)/88*your bust measurement +Z = X (I got 17.2). Connect that line to the waist line.  Starting from the bust line, measure up the diagonal line 9.2cm and make a mark. Disregarding the subtraction, plot a point from that using the equation with 5.4. 5.4/88*bust measurement (83)=X ( 6.2).    The back pieces are done! Now all you need to do is make your back facing pieces, which is easy enough, remember? Measure 10.5cm down the center back from the neckhole, then 4cm down along the line connecting the bust and waist. Draw a curvy line connecting the points and you're done!  You should be constantly referring to your book to find the measurements. It can be a little tricky to figure out at first, but the images have everything you need. Double check the pattern measurements by measuring along each piece's waist and bust line and adding the measurements together. You should get a number an inch or two larger than your measurements The next thing to do is to 'draft' the skirt portion. This doesn't require an actual pattern piece because the skirt is basically a long rectangle. The usual skirt width in lolita is 3x your waist measurement, though you can increase or decrease this as you feel necessary. You now have all the tools you need to resize Otome no Sewing patterns for your body!! You can apply this system to pretty much any pattern in the book. Make sure to make a muslin (or practice version) before using your actual dress pattern so you can address any sizing problems there may be. Here is my final product! I changed the skirt because I prefer pleats, but I actually drafted a whole new pattern following this tutorial to insure accuracy.   All in all, it turned out pretty well. I didn't bother making a muslin this time around so there are a few small fitting issues I'd correct if I made it again, but I'm happy with it. Anyway, I hope you found this tutorial useful! Happy sewing! |
Fantastic tutorial! Thank you so much for sharing this, I've admired the ONS patterns for ages but just gone "nah, that won't fit me" so now I have no more excuse!
ReplyDeleteThis is a great blog post, although I'm finding it hard to wrap my head around it! Regarding the arm hole curve, how do you know what the exact curve should be, or does it not matter too much so long as I use a french curve? Thank you!
ReplyDeleteUnfortunately, finding out your armhole is mostly trial and error. I prefer mine larger than most. If it's your first time making a pattern, take a look at some bodice pattern images and try to replicate the curve you see. If you have a french curve, that's great! Use it to match up the lines and you should be good to go!
DeleteAnother note: make a muslin if you're unsure of the fit! You only have to do the bodice portion to make sure everything's all nice and good.
This is really cool... but I don't follow, I'm stuck on step 1. Where in the image did you find the 49cm and 39.5cm?
ReplyDeleteAnd anyone who is fond of shopping online could easily disclose that the variety you get to choose from online is simply tremendous. As an example, if you are looking to shop for clothing, or some fashionable chic jewelry online, you'd find more options online than you could ever imagine. So you simply end up making smarter choices! marijuana clothing
ReplyDelete